
How to Sight In a Hunting Rifle Before Deer Season
July 22, 2026
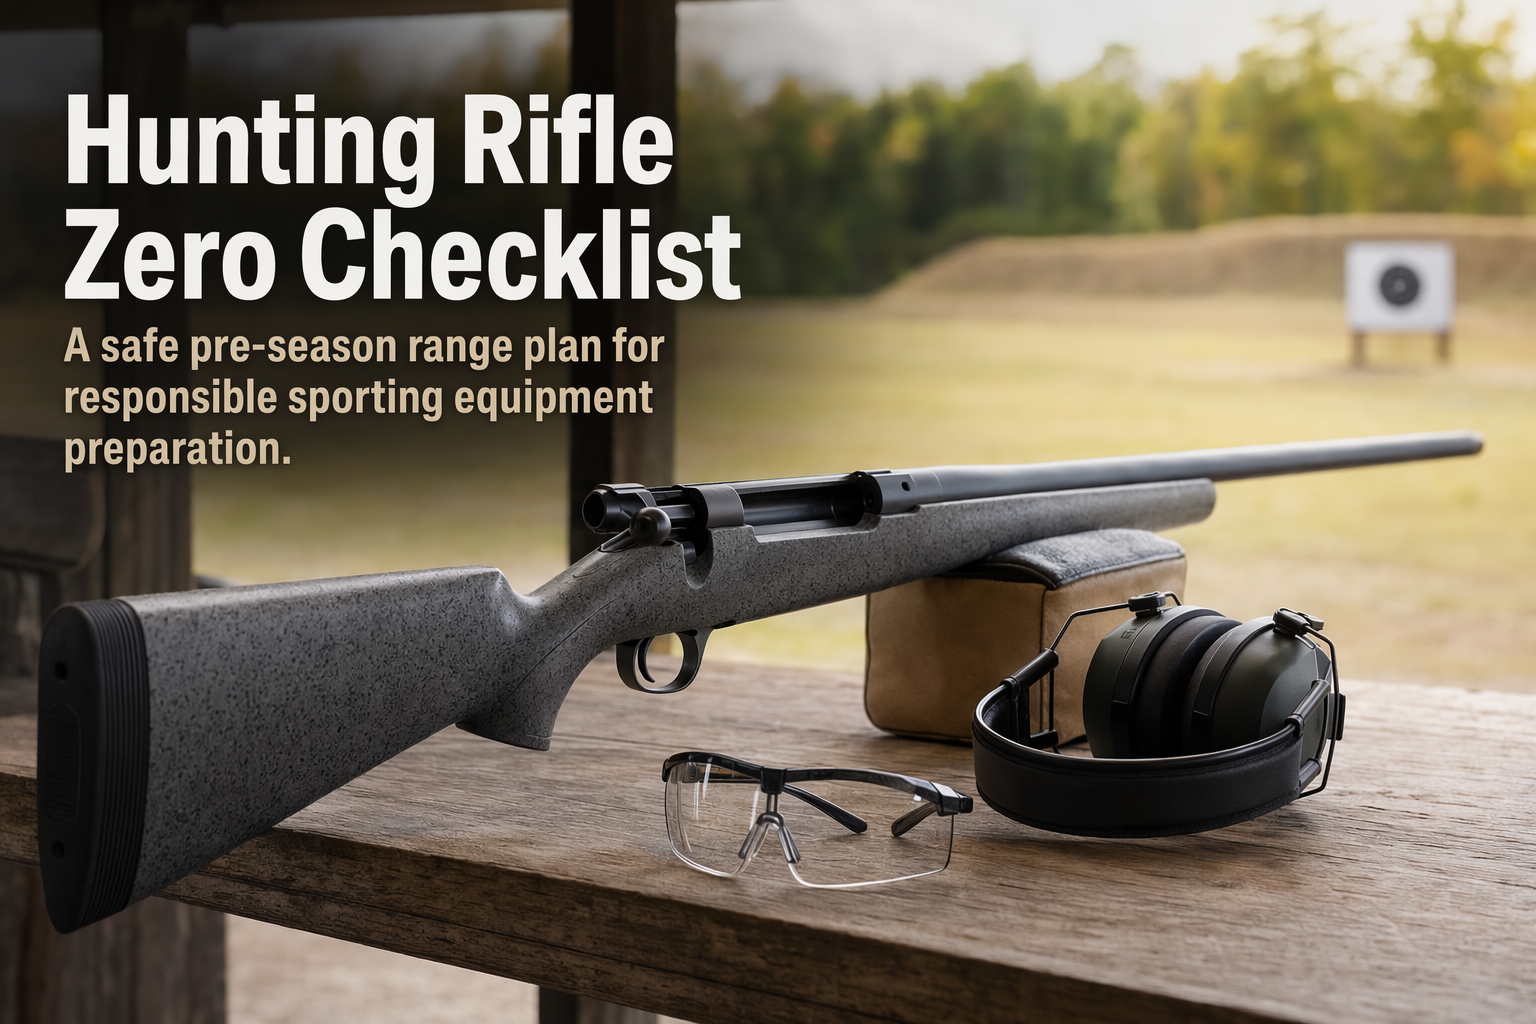
Learning how to sight in a hunting rifle gives you a known point of impact before deer season. The goal is not one lucky bullseye. You want a repeatable group, a verified scope setting, and confidence that the rifle, optic, and chosen hunting load work together. This guide covers a practical range process without assuming that one zero distance fits every hunter.
- Inspect the unloaded rifle and scope.
- Confirm fit, eye relief, and reticle alignment.
- Choose a zero distance for your terrain and cartridge.
- Get on paper from a stable rest.
- Fire a careful three- or five-shot group.
- Measure and adjust windage and elevation.
- Confirm the zero with field ammunition and realistic positions.
What Does Sighting In a Rifle Mean?
Sighting in, or zeroing, aligns the scope so the bullet’s point of impact matches the point of aim at a selected distance. A bore sight can help place early shots on the target, but it is only a starting point. The final zero must be confirmed by firing the rifle with the ammunition you plan to use.
A useful hunting zero is a verified relationship among the rifle, scope, ammunition, shooter, and chosen distance.
How to Sight In a Hunting Rifle in Seven Steps
1. Start With an Unloaded Inspection
Keep the muzzle in a safe direction, remove the magazine, open the action, and verify an empty chamber. Keep ammunition away from the work area while checking hardware. Look for damaged parts, an obstructed bore, or obvious movement in the stock, base, rings, and scope.
Use the rifle, optic, ring, and base manuals for torque values. Do not guess or simply tighten every screw harder. A loose fastener can shift zero, while excess torque can damage components. If anything looks wrong, stop and ask a qualified gunsmith to inspect it.
2. Check Rifle Fit and Eye Relief
Shoulder the unloaded rifle in a normal position. Your cheek should settle naturally on the stock, and the sight picture should fill the eyepiece without a dark ring. Check this at low and high magnification. Adequate eye relief also keeps the scope safely away from your face during recoil.
Fit affects consistency. If your head moves around to find the image, each shot can start from a slightly different position. Adjustable stocks can help, but a simple, repeatable cheek position matters more than extra controls. Hunters comparing fit can browse GunGenius bolt-action rifles and note stock dimensions before handling specific models.
3. Pick a Zero Distance That Matches the Hunt
Many hunters use 100 yards because it is easy to measure and widely available at ranges. A 50-yard zero may suit very close woods or a short initial session. Some open-country setups use a longer zero. The right choice depends on the cartridge, load, sight height, terrain, and the farthest distance at which you have demonstrated reliable accuracy.
Do not rely on a generic trajectory chart alone. Published velocity often differs from actual velocity, and environmental conditions also matter. Start with the ammunition maker’s data, then confirm impacts at every distance you may use. State hunting rules can restrict cartridges or equipment, so verify current regulations with the responsible wildlife agency.
4. Get on Paper From a Stable Rest
Use a solid bench with front and rear support. The rest should steady the rifle without pressing on the barrel. Set a large, high-contrast target at a closer distance if the rifle is newly scoped or its zero is unknown. Wear eye and ear protection, follow range commands, and confirm the backstop before loading.
A bore sight can save ammunition, but treat it as a rough alignment. Leupold recommends beginning at a shorter distance when the final zero will be farther away. Its official scope sight-in process also stresses a stable platform and live-fire confirmation.
5. Fire a Group Before Turning a Turret
A single hole does not show the center of the rifle’s normal dispersion. Fire three careful shots at the same aiming point. Five shots provide more information, but they also add barrel heat, recoil, and ammunition cost. Let the barrel cool when needed, especially with light hunting barrels.
Use the same body position, grip, cheek pressure, breathing pattern, and trigger press for every shot. If the group is wide or irregular, solve that issue before adjusting the scope. Loose equipment, an unstable rest, inconsistent technique, or an ammunition mismatch can make turret changes meaningless.
6. Measure the Group and Adjust the Scope
Find the center of the group and measure its horizontal and vertical distance from the aiming point. Windage moves impact left or right. Elevation moves it up or down. Read the turret labels and the optic manual before turning anything because click values and adjustment directions can vary.
| Adjustment Marking | Approximate Change at 100 Yards | Approximate Change at 50 Yards |
|---|---|---|
| 1/4 MOA per click | About 0.26 inch | About 0.13 inch |
| 0.1 mrad per click | About 0.36 inch | About 0.18 inch |
Those values are practical approximations, not a reason to chase every small hole. Make the calculated correction, then fire another complete group. If adjustments stop moving impact or require nearly all available travel, inspect the mounting system. A canted or poorly aligned base may need professional correction.
7. Confirm With Hunting Ammunition
Different bullet weights and loads can strike different places, even when they share a cartridge name. Finish with the exact hunting load you will carry. Record the brand, product name, bullet weight, lot number when practical, zero distance, weather, and final turret setting.
Confirm from a stable bench first. Next, shoot from safe field positions that you can hold steadily, such as sitting with support or using shooting sticks. This does not replace the bench zero. It shows whether your practical point of impact changes when the support and body position change.
Common Rifle Zero Problems
- Shots will not group: Check support, technique, hardware, barrel condition, and ammunition before moving turrets again.
- Impact moves as the barrel warms: Slow the pace and compare cold-barrel shots, since the first field shot usually comes from a cold rifle.
- Turrets run out of travel: Stop forcing adjustment. Recheck bases, ring alignment, and any zero-stop instructions.
- Zero changes after transport: Inspect the rifle and fire a confirmation group before hunting.
- Only one load is accurate: Record it and confirm availability before the season.
Savage rifles include several hunting-oriented stock and trigger configurations, but the same troubleshooting logic applies across brands. The rifle must fit, the mounting system must stay secure, and the chosen load must group predictably.
Pre-Season Hunting Rifle Zero Checklist
- Verify the rifle is unloaded before inspection.
- Check the bore, stock, base, rings, and scope.
- Confirm eye relief at every useful magnification.
- Bring the optic manual, tools, eye protection, and ear protection.
- Use one clearly identified hunting load for final confirmation.
- Fire groups instead of adjusting from a single shot.
- Verify impact at realistic distances and from safe field supports.
- Record the zero and recheck it after a hard impact or major trip.
- Review current season dates, equipment rules, and cartridge restrictions.
Knowing how to sight in a hunting rifle is only one part of responsible preparation. Practice within your demonstrated ability, identify the target and what lies beyond it, and pass on shots that are not safe or certain. A calm confirmation session several weeks before opening day leaves time to solve problems without rushing.